In Antergos, everything is easy to operate, it is designed to be a ready-to-use operating system like Ubuntu, Windows and Mac; however, because of the login manager, lightdm-webkit2-greeter , you will need to do some command-line work to add custom backgrounds to the login screen selection area. Notice that changing the login screen from gnome tweak will not work! So you must follow this tutorial to add custom backgrounds (or you can also rebind the route of background source in lightdm-webkit2-greeter.conf as the tutorial in arch wiki shows). Anyway, let’s get started!
Step 1: Copy your new wallpaper into the Antergos wallpaper folder and the LightDM thumbnail folder.
(you need to edit “YourImage.jpg” to the name of your custom image)
[code language=”bash”]$ sudo cp /path/to/YourImage.jpg /usr/share/lightdm-webkit/themes/antergos/img[/code]
[code language=”bash”]$ sudo cp /path/to/YourImage.jpg /usr/share/antergos/wallpapers[/code]
Step 2: Change the permissions on the copied files so LightDM can access them.
(you need to edit “YourImage.jpg” to the name of your custom image)
(Change directory )
[code language=”bash”]$ cd /usr/share/lightdm-webkit/themes/antergos/img[/code]
(Change permission)
[code language=”bash”]$ sudo chmod 644 YourImage.jpg[/code]
(Change directory)
[code language=”bash”]$ cd /usr/share/antergos/wallpapers[/code]
(Change permission)
[code language=”bash”]$ sudo chmod 644 YourImage.jpg[/code]
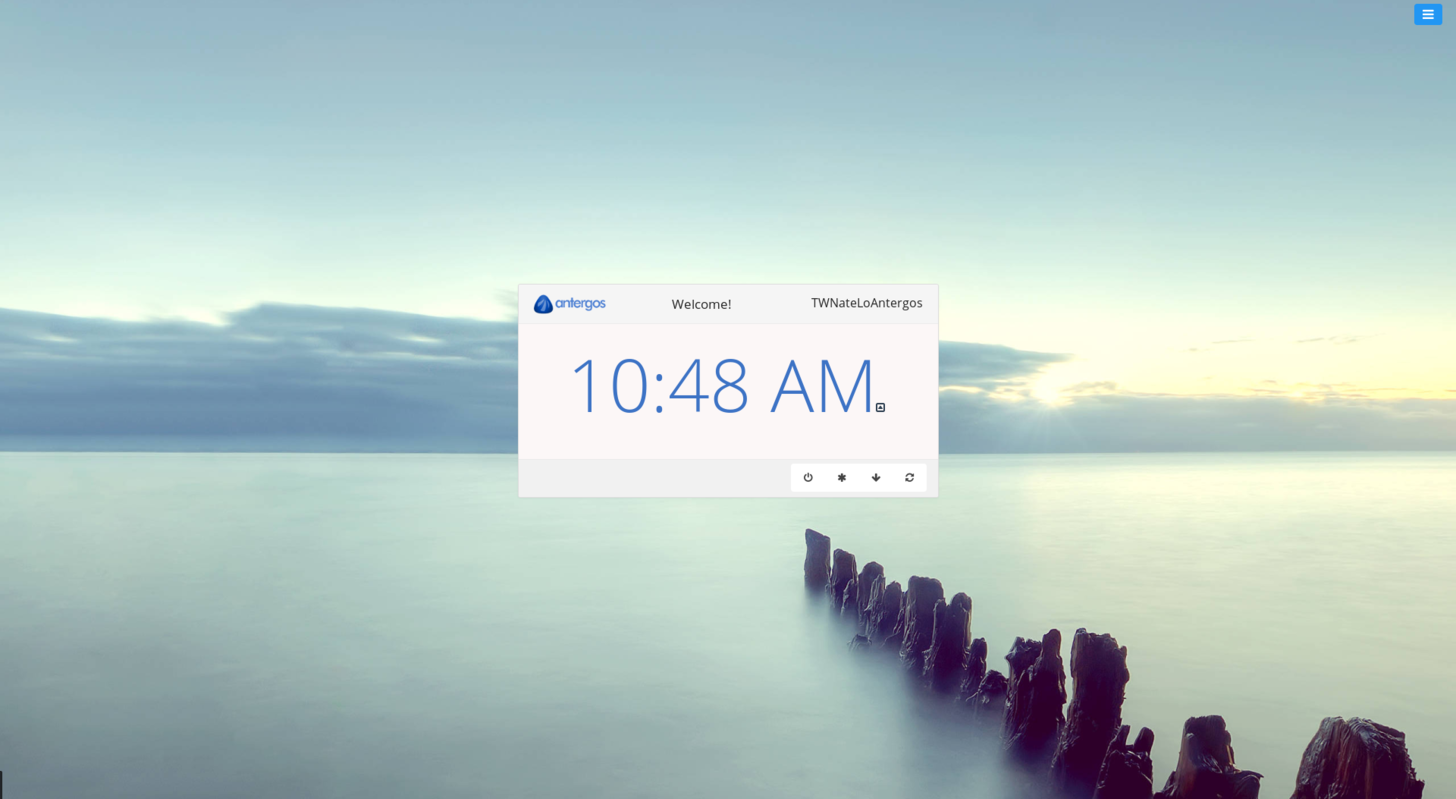
Step 3 (optional): Test your configuration
(Opening the greeter directly in the terminal)
[code language=”bash”]$ lightdm-webkit2-greeter[/code]
VOILA!
Source: https://forum.antergos.com/topic/1670/tutorial-adding-a-custom-lightdm-background